Managing Trip Logs
Trip logs display documented student attendance per route. The logs include system events, usually related to the routes. Storing logs is the feature that allows to consolidate, overview and observe changes with routes.
Tracking is initiated by the logic of the check-in system. A Tracker keeps track of all the passengers who entered the school bus at the beginning of trip and who got off the bus at the end of route.
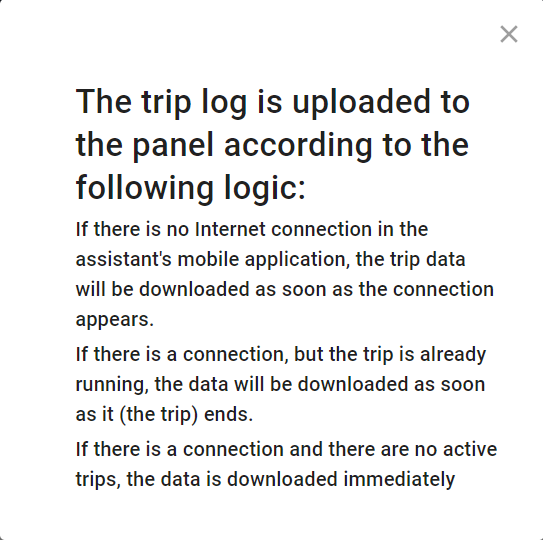
The trip logs are uploaded to DTTA web panel according to the following logic:
- By pressing the Update button in the mobile application (If there is no running route at this time)
- When DTTA app was opened
- After the route was closed by the tracker at DTTA app
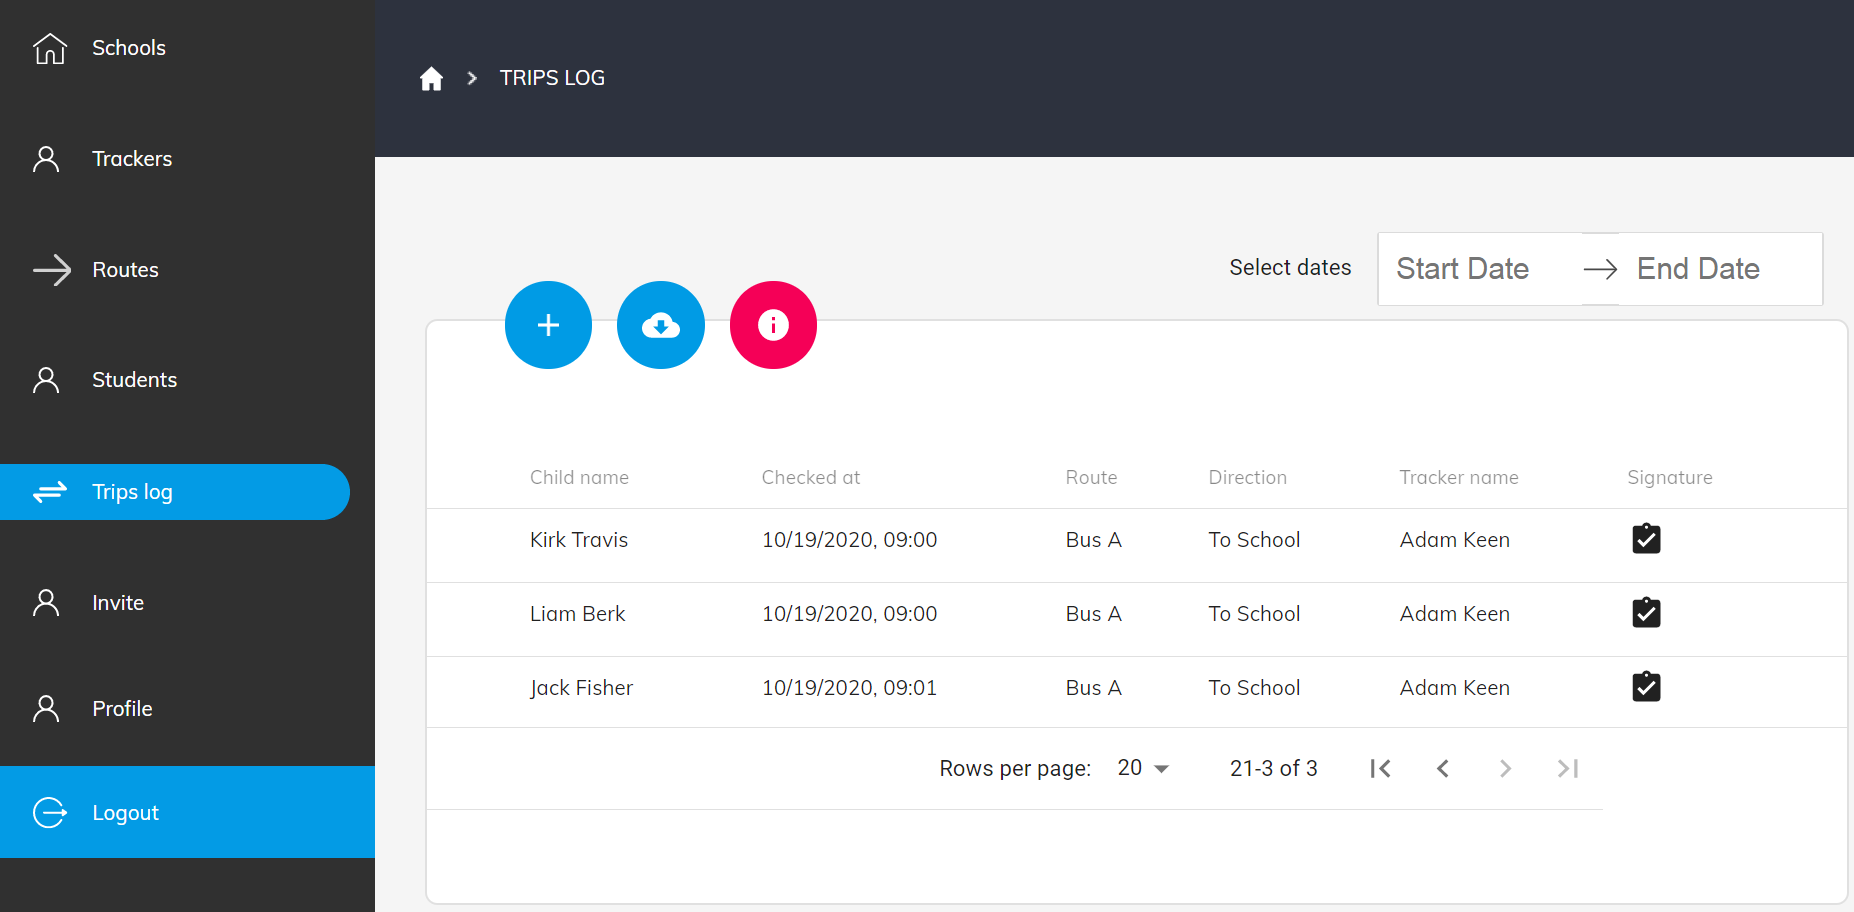
In this section, you can see the list of trip logs that were added manually or imported from the mobile app DTTA. They are sorted in descending order by the date of trip logs creation. On the screen, you can see the following details:
Field | Description |
|---|---|
| Student name | Full name of student |
| Checked at | Date and time when a Tracker checked a student in/out. There are two cases: log was created from the mobile app - a real time of check-in is stamped log was created from the website panel - date of log creation and 0 hours a.m. are stamped |
| Route | Name of specific route |
| Direction | Course of the current route. Direction can be labeled with: Both - round trip to/from school To School - one-way trip to school From School - one-way trip from school |
| Tracker name | Name of the Tracker who tracked the route |
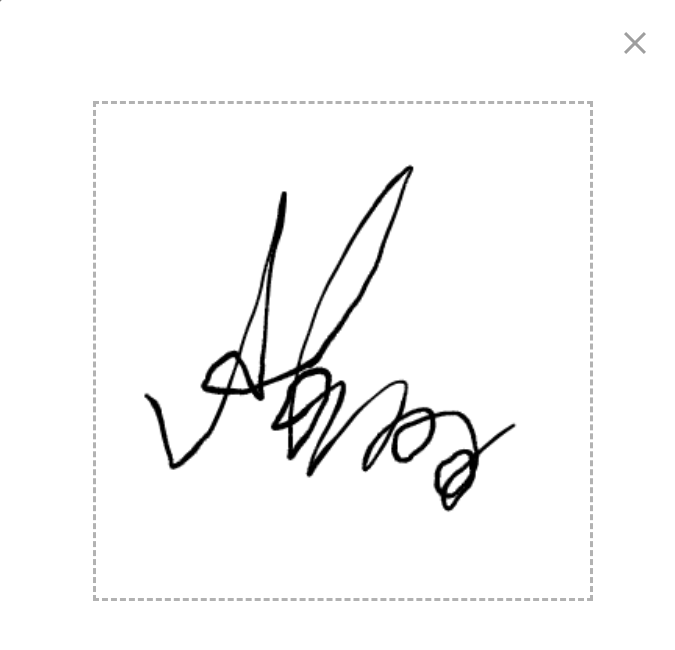
| Signature | Personal handwritten digital signature supposed to identify the certain Tracker amongst others |
Calendar navigation
Logs may be sorted if needed. Selecting dates with a calendar may help to distinguish the expected range of dates.
To select dates:Click the Start Date field to open the mini-calendar
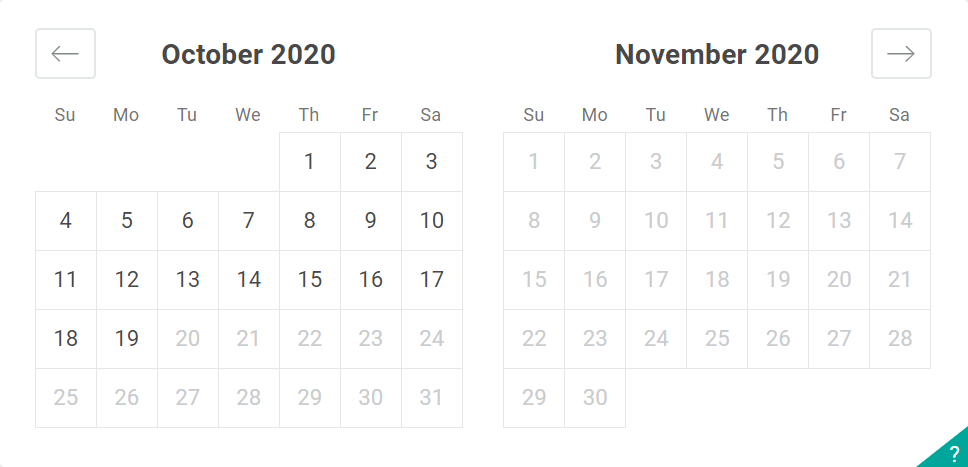
Press on the green arrow, in the right bottom corner of the calendar. Keyboard shortcuts manual will open
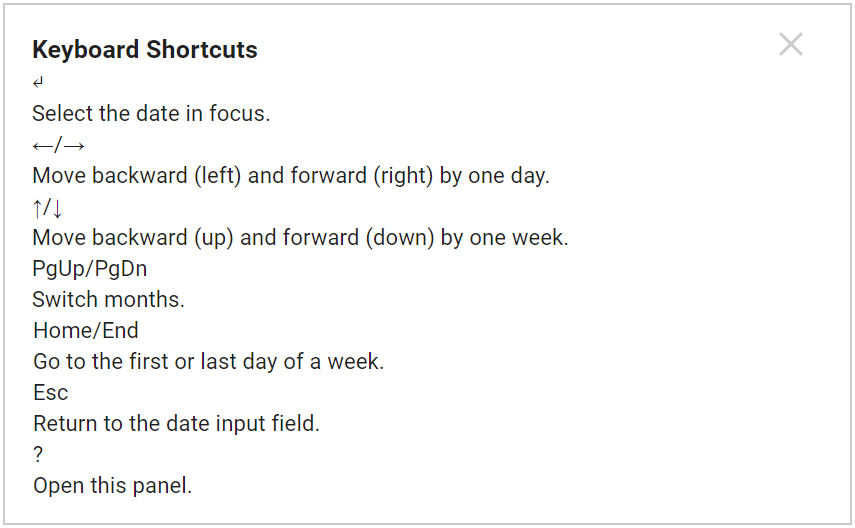
Click the cross in the top right corner to close the advisory window
Select the starting date of the required range
Select the End Date of the required range
Export data
To export logs:click
 in the top left of the log list
log data will be exported on the hard drive of your personal computer in a .csv format
open the file with your default installed spreadsheet app such as Microsoft Office Excel

On the table sheet, you can see the following details:
Field | Description |
|---|---|
| Student | Full name of student |
| Date | Date when a Tracker checked a student in/out |
| Time | Time when a Tracker checked a student in/out. There are two cases: log was created from the mobile app - a real time of check-in is stamped log was created from the website panel - 0 hours a.m. is stamped |
| Assistant | Name of the Tracker that led the route |
| Direction | Course of the current route. Direction can be labeled with: Both - round trip to/from school To School - one way directed trip to school From School - one way directed trip from school |
| Device ID | Unique digital ID assigned used by the tracker. Device ID is used for individual geolocation of the Tracker |
| Route | Route title |
| Facility | School title |
Information
Clicking ![]() in the top left corner of the log list opens the window with additional information about the logging mechanism.
in the top left corner of the log list opens the window with additional information about the logging mechanism.
Signatures
Every log always contains the personal digital signature of the Tracker or the log creator. To open the signature image, click ![]() . To close the window, click
. To close the window, click ![]() .
.
Adding Trip Logs
To add a trip log:Select one tracker and click Next
Choose the direction:
- From school - routes of Both and From school trip types become available
- To school - routes of Both and To school trip types become available
Specify the route and click Next
Select the students who took the route, and click Next
Press and hold the left mouse button, then draw your signature
Click Finish to complete the operation
Pressing Back will open the previous dialogue and erase your sign. That applies to every stage of creating the log.